Structuring a Client Project Properly - Best Practices
Written By Janina
Last updated About 1 month ago
When tasks, milestones, and feedback processes are clearly organized, projects run much more smoothly and efficiently. In this article, we’ll show you a best practice for setting up a client project in Proyex the right way.
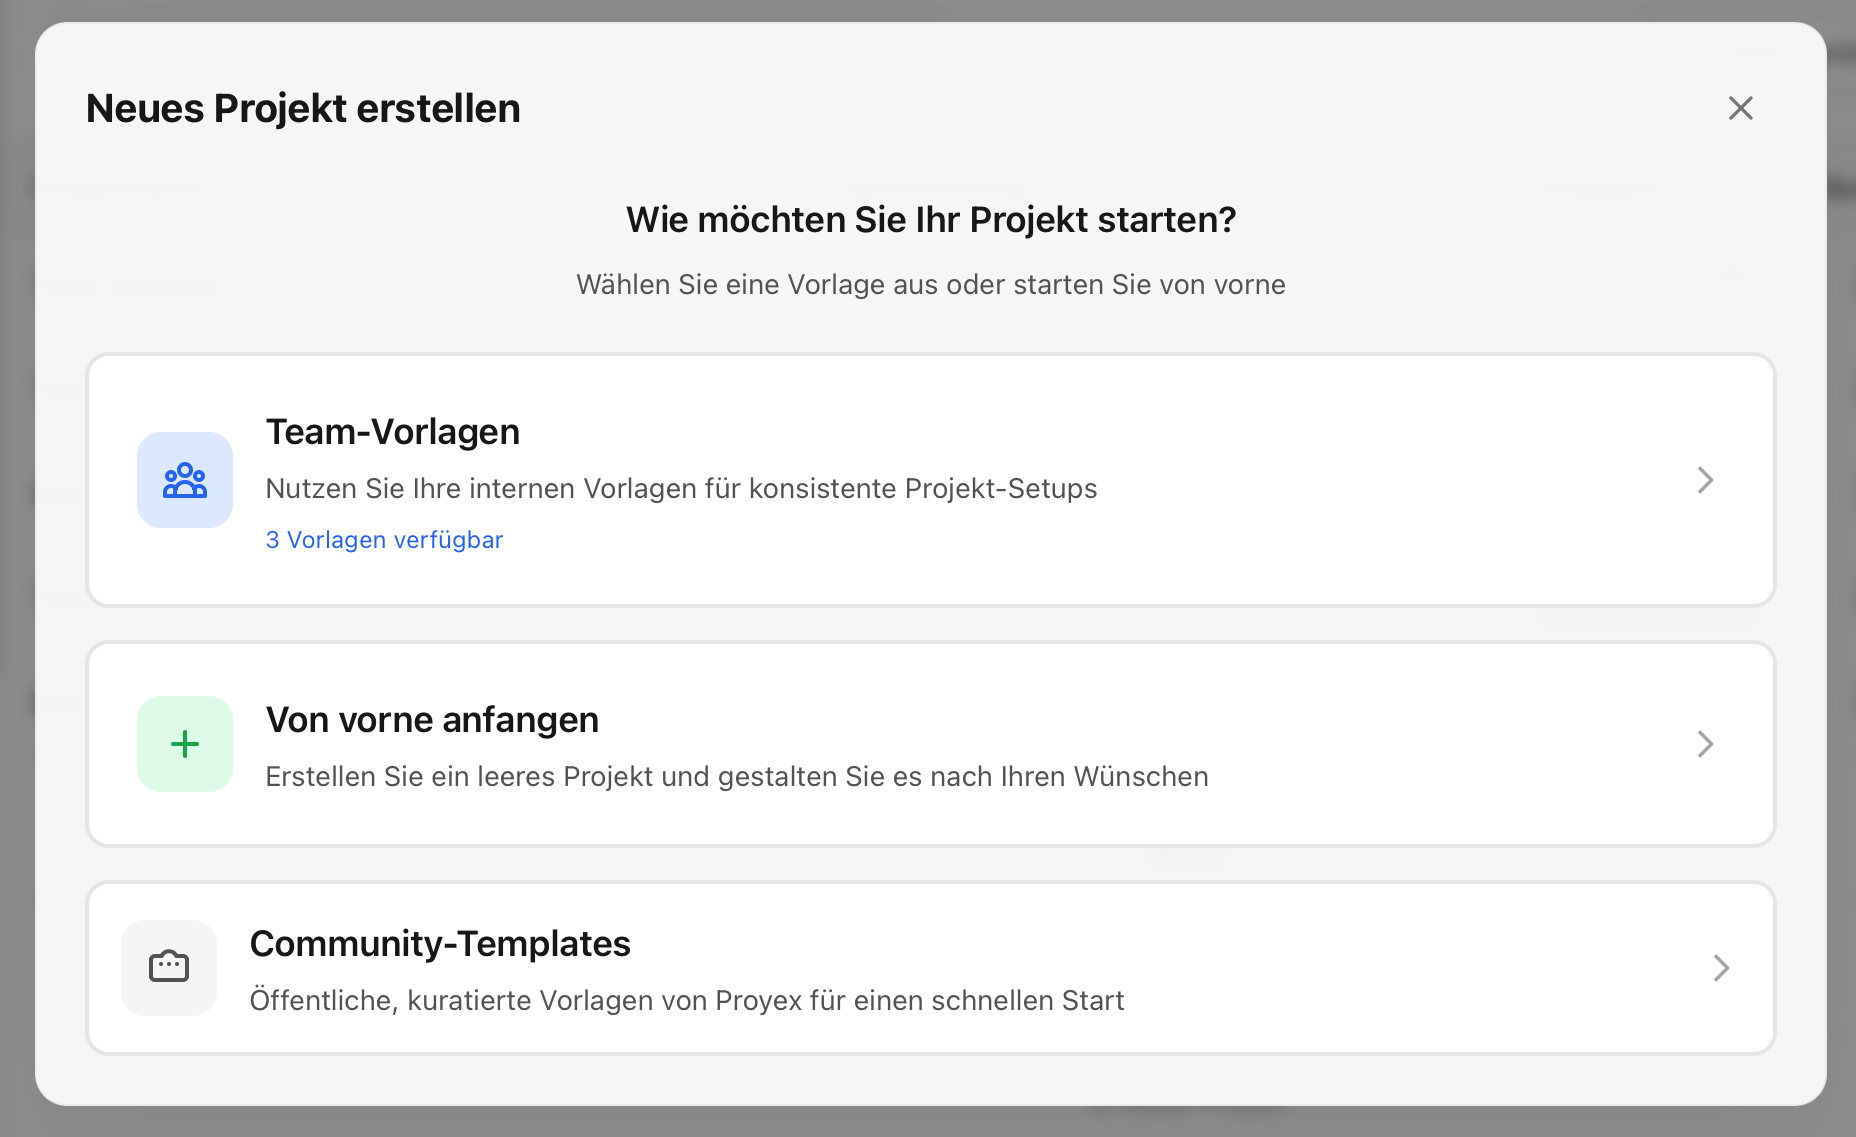
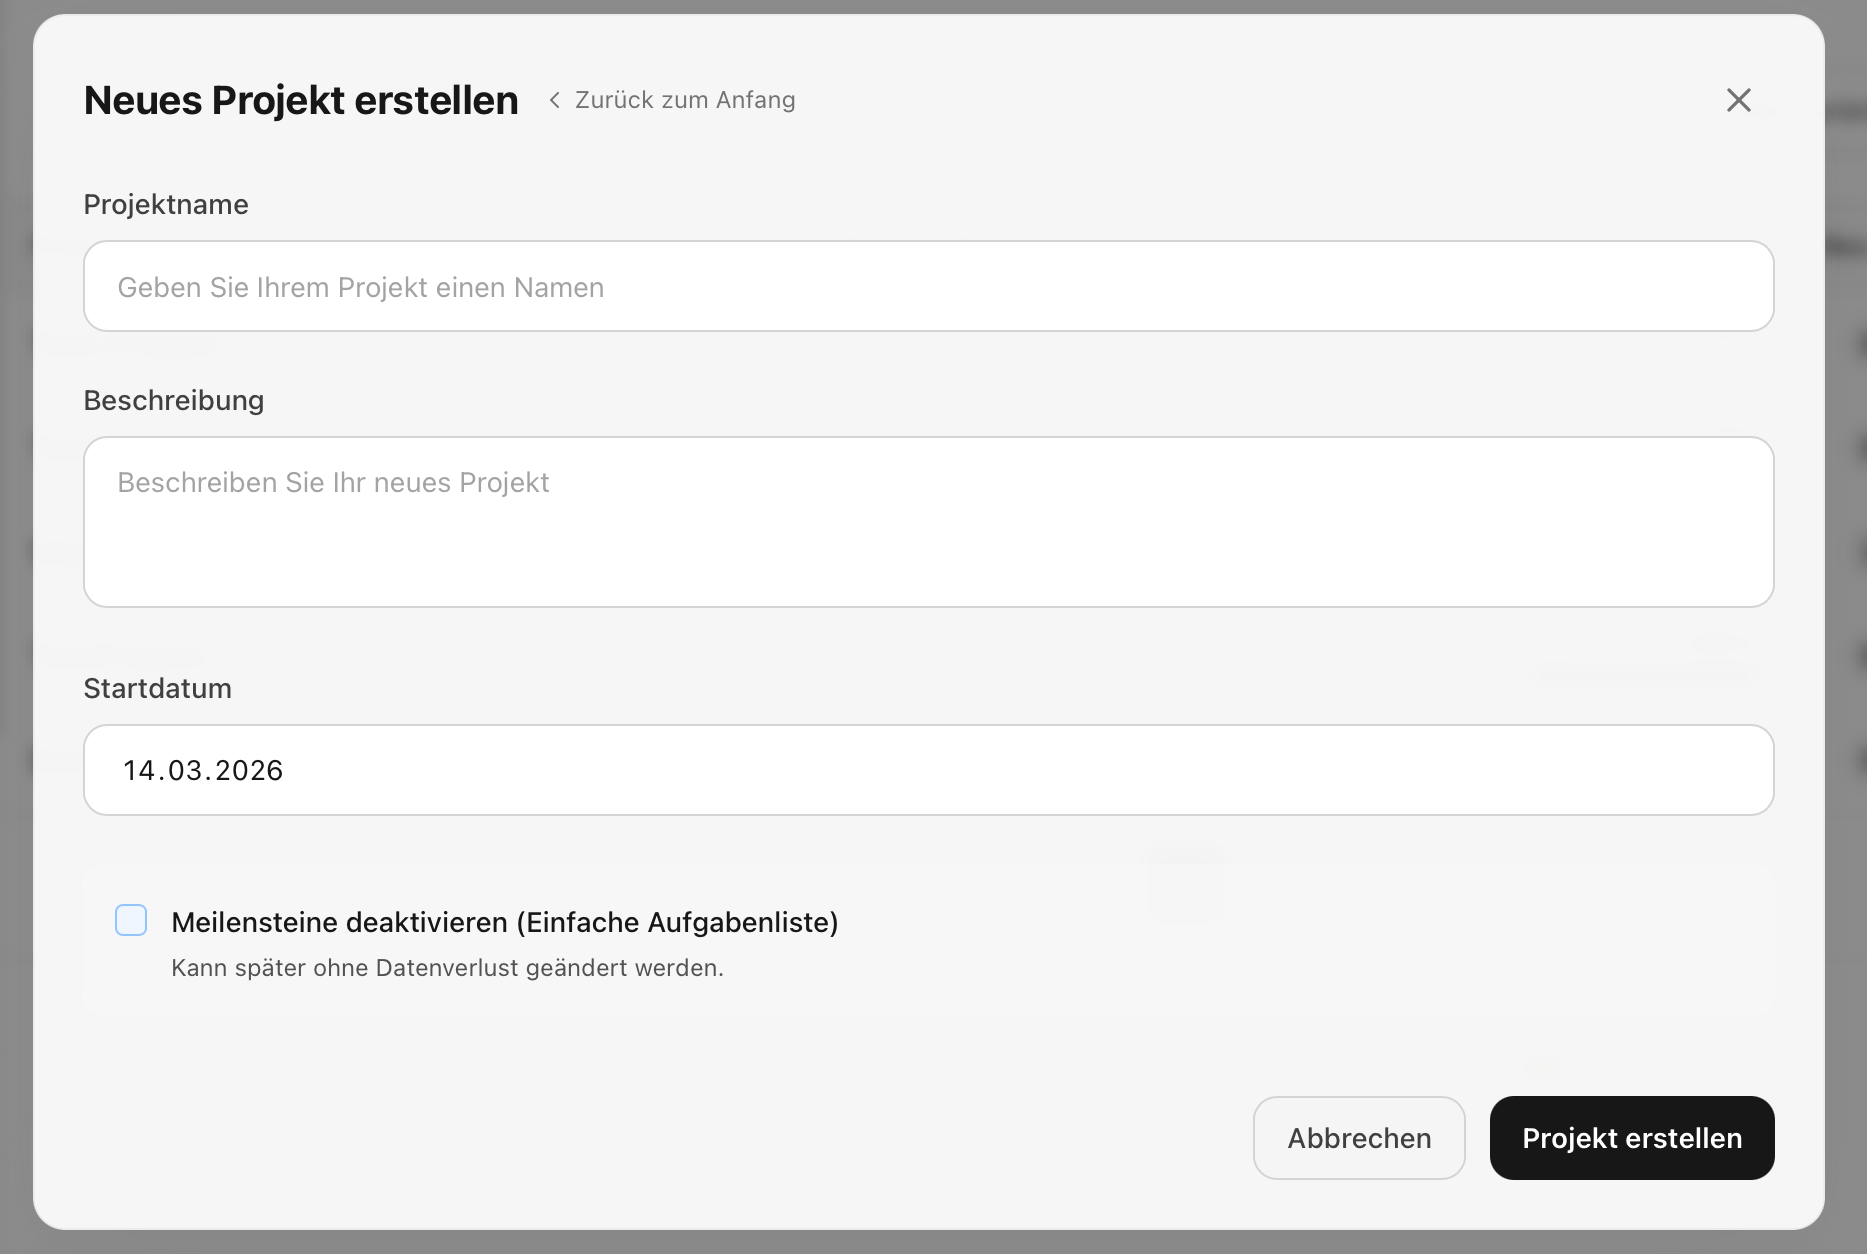
Create a Project
The first step in Proyex is always to create a new project. A project serves as the central workspace where all content will later be organized, such as:
Tasks
Milestones
Files
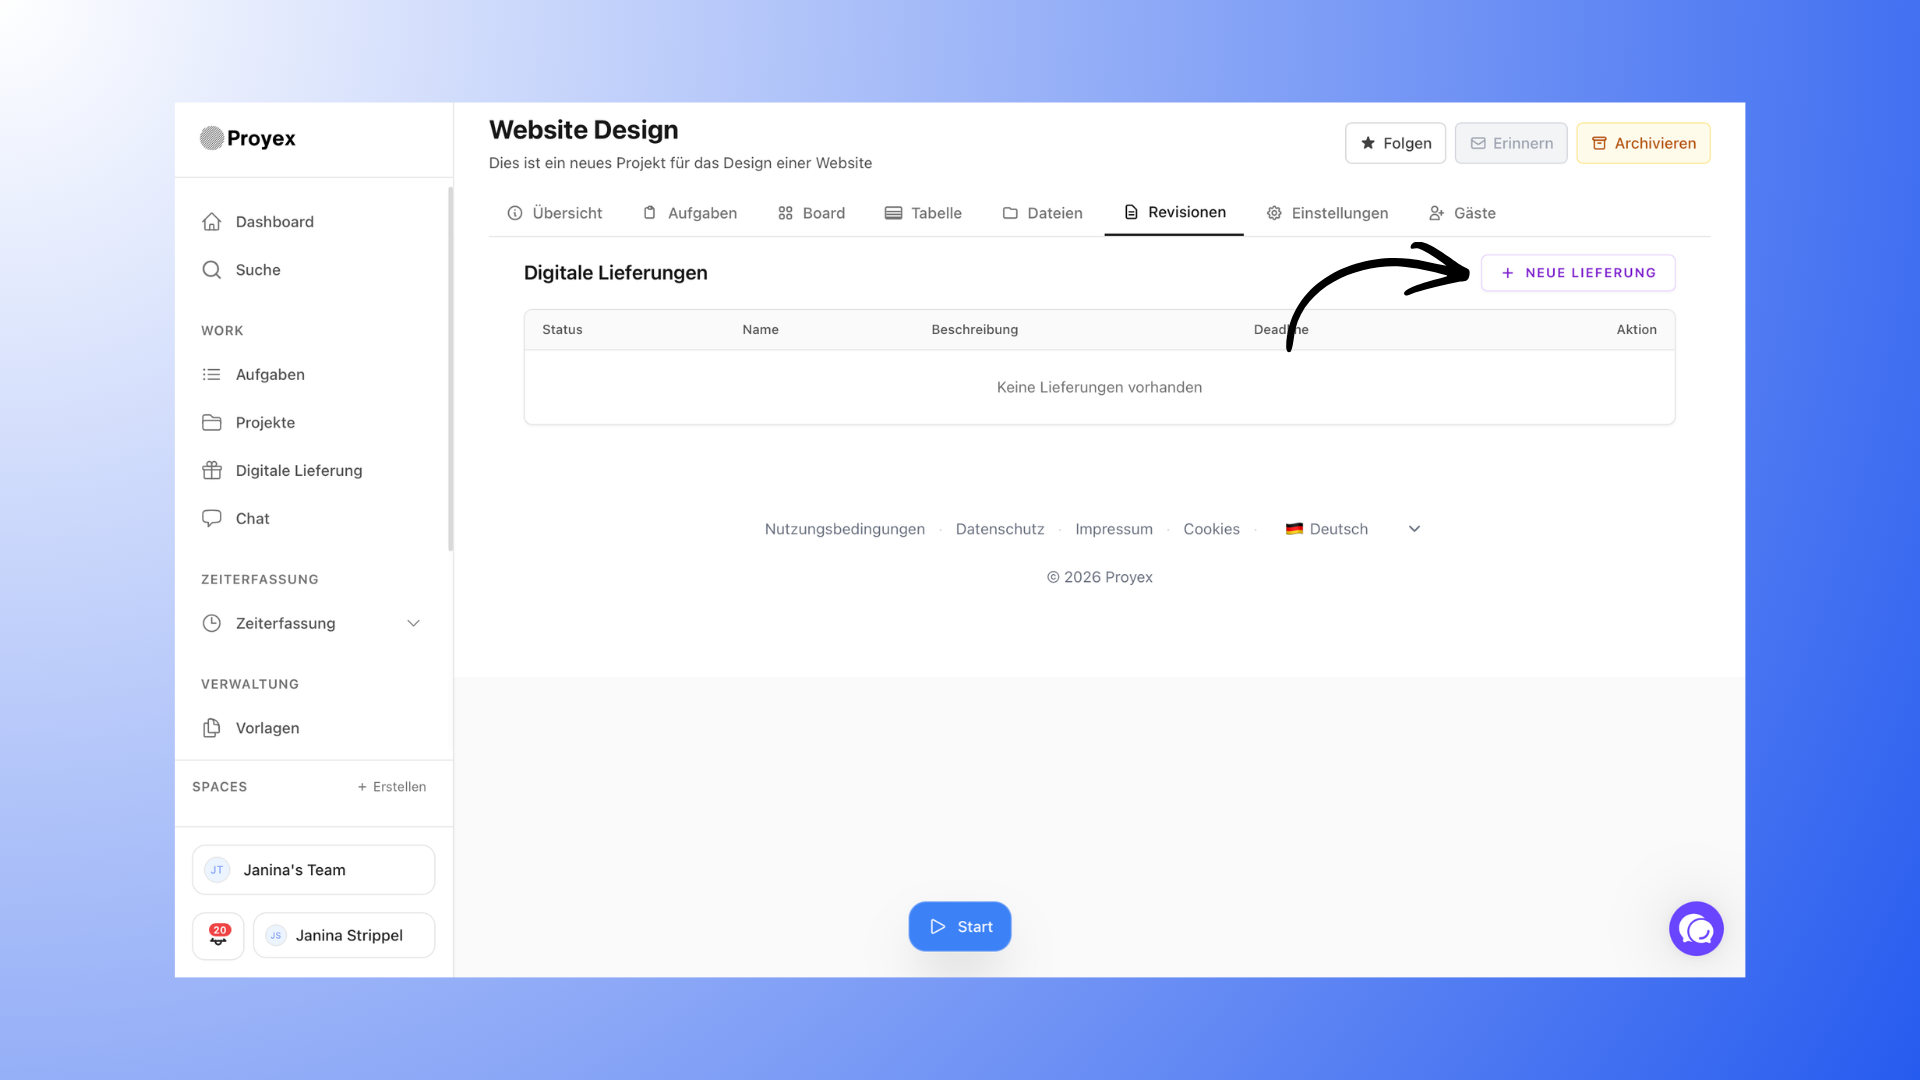
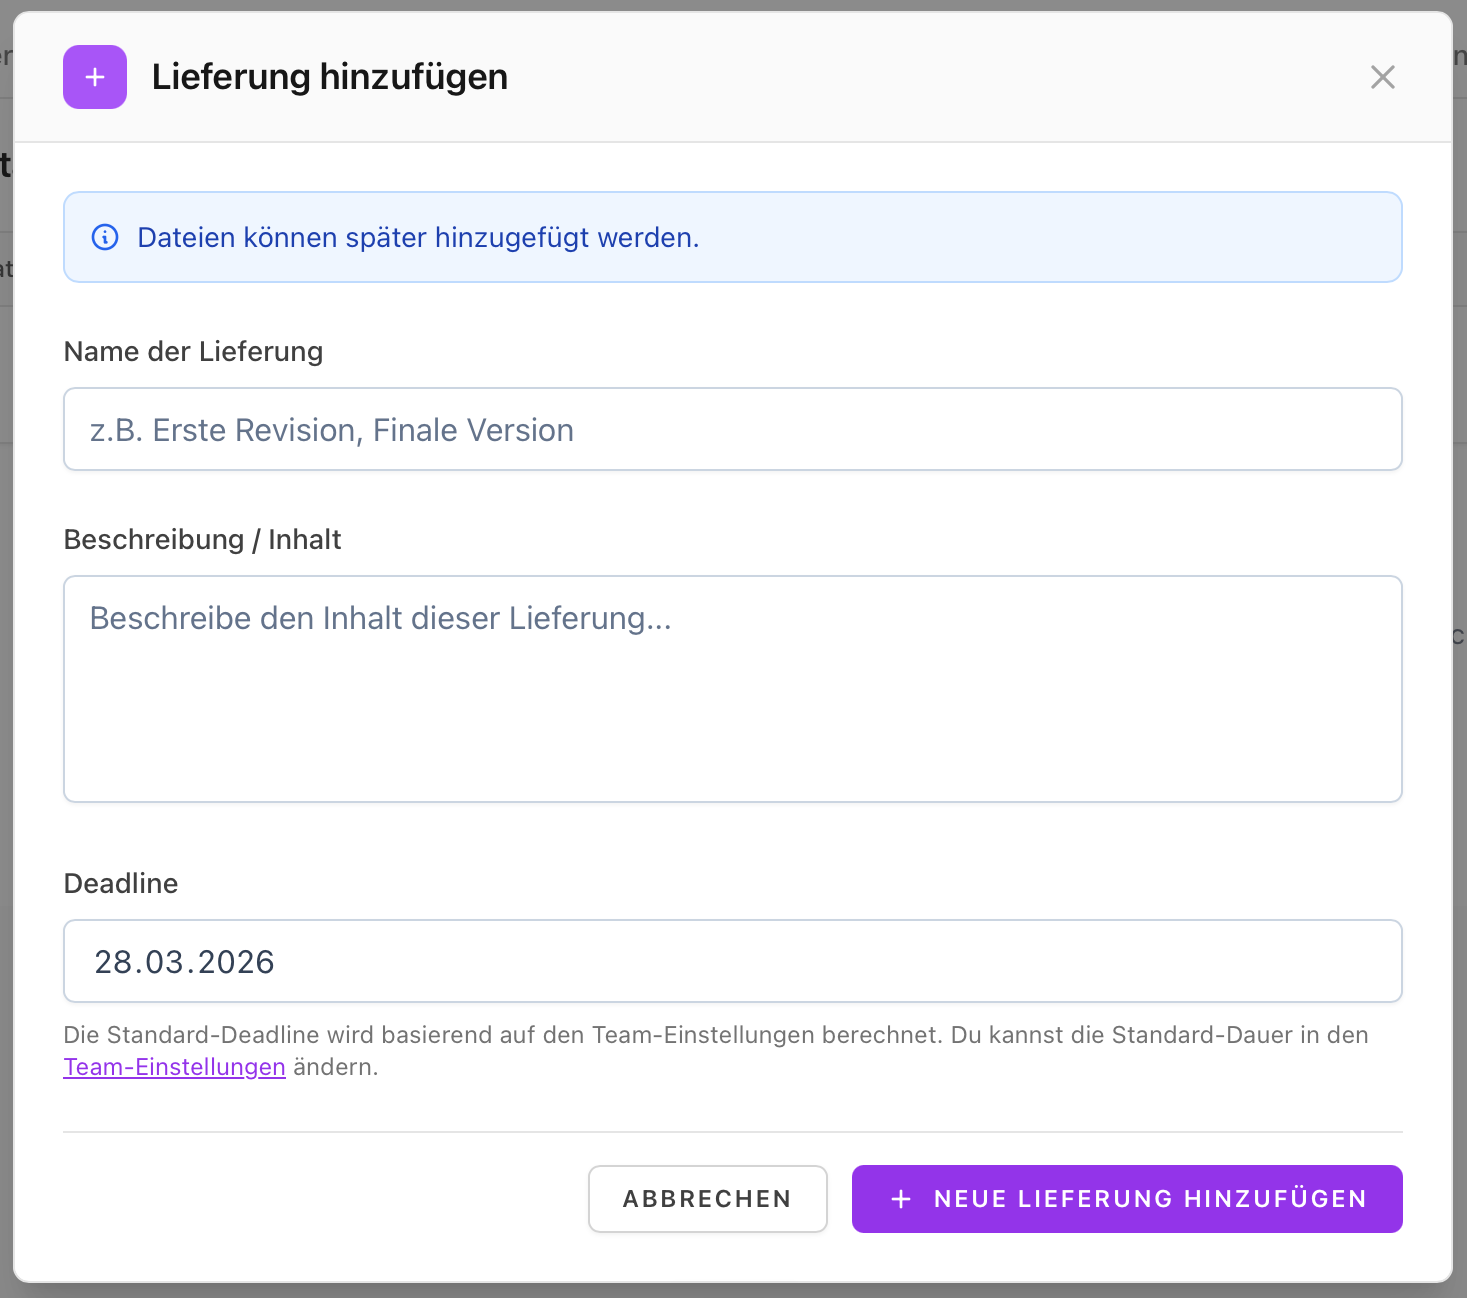
Revisions
Guests (clients)
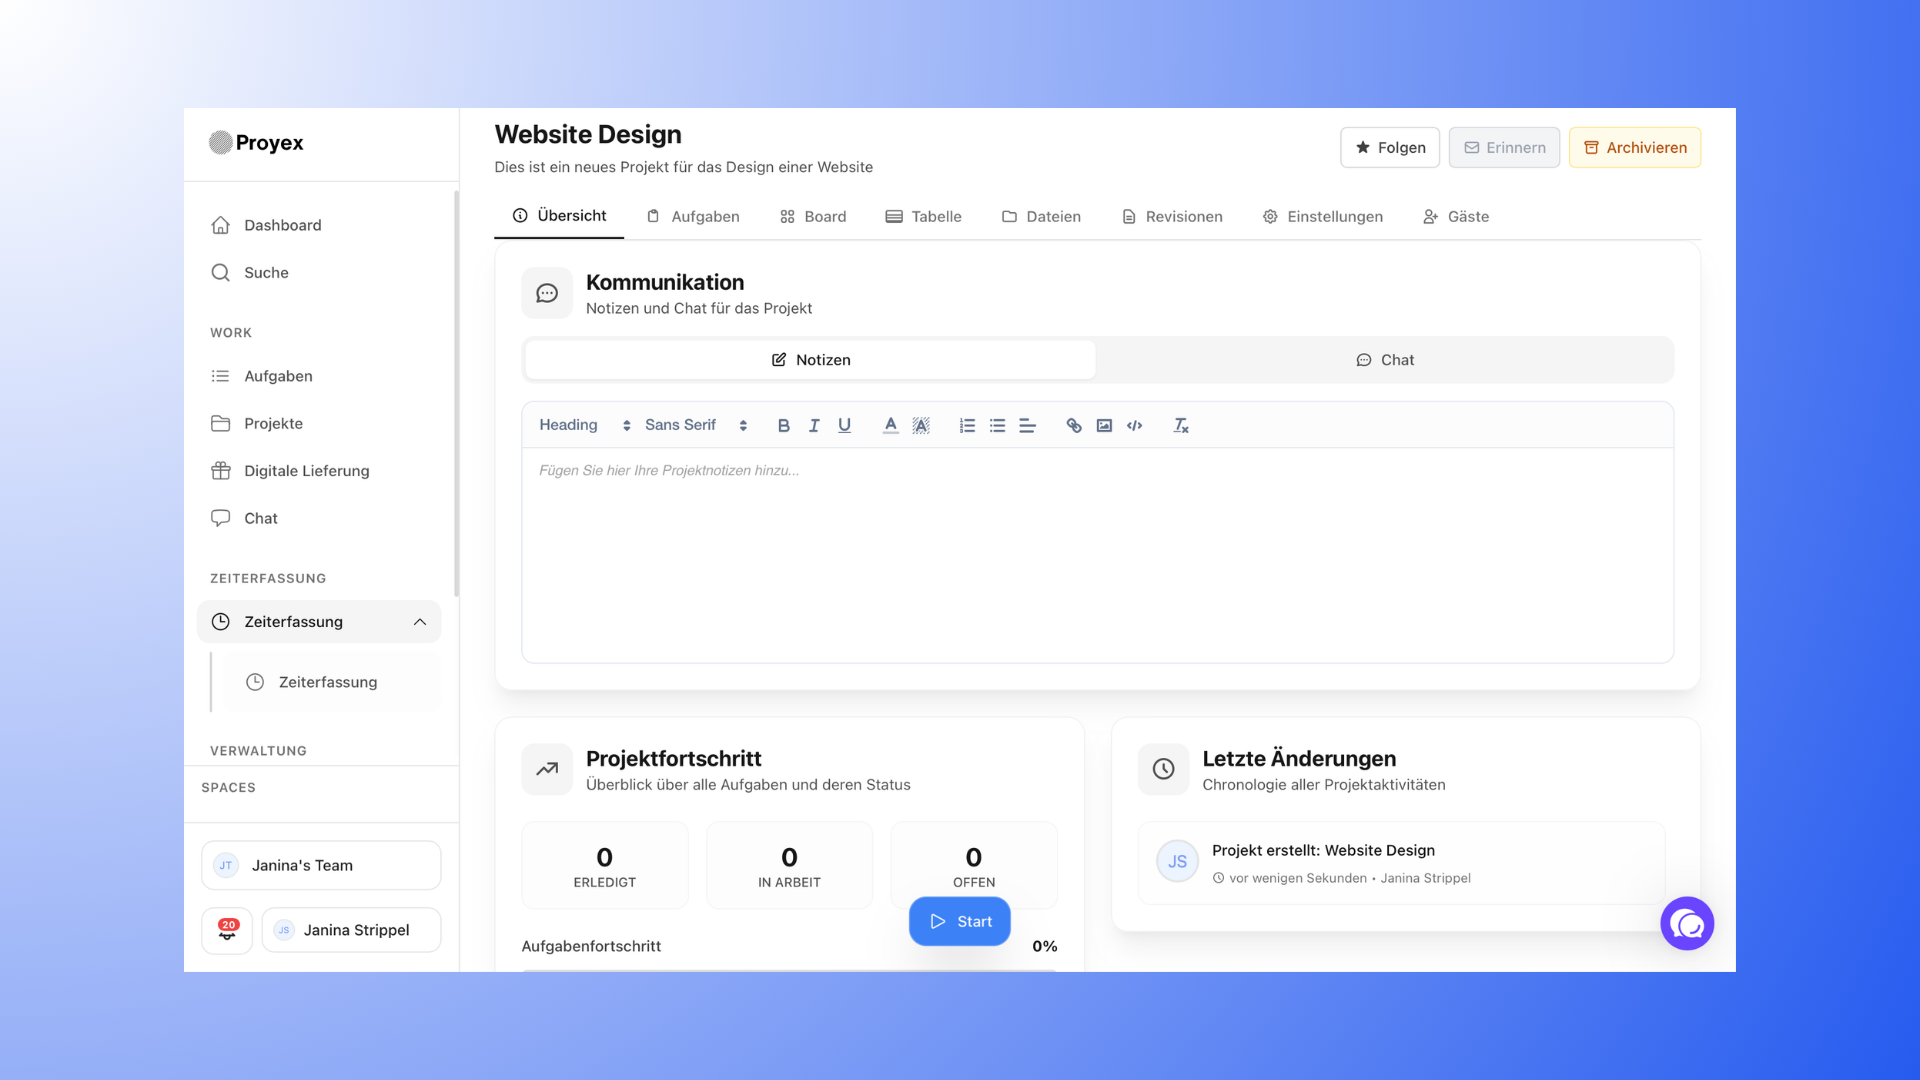
At the beginning, the project is usually still empty. The actual structure is created in the next step.
Defining Milestones as Project Phases
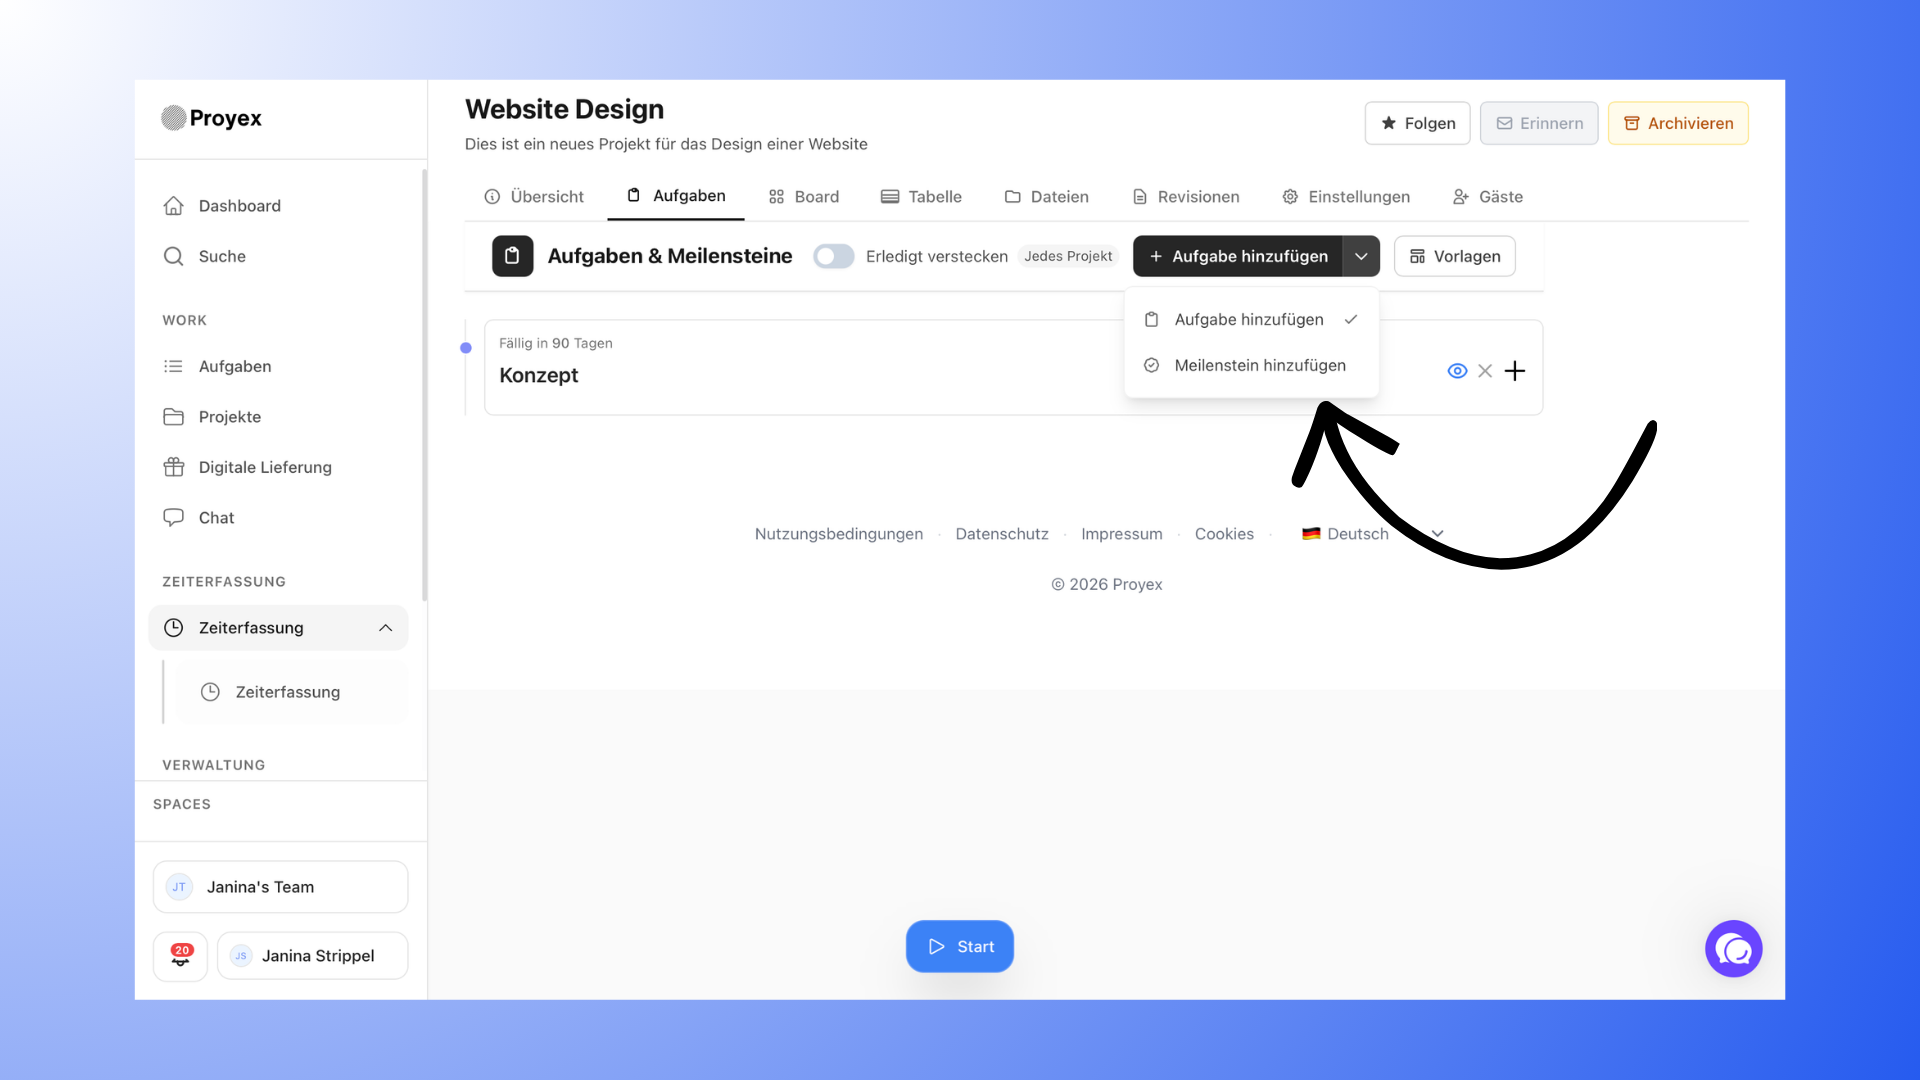
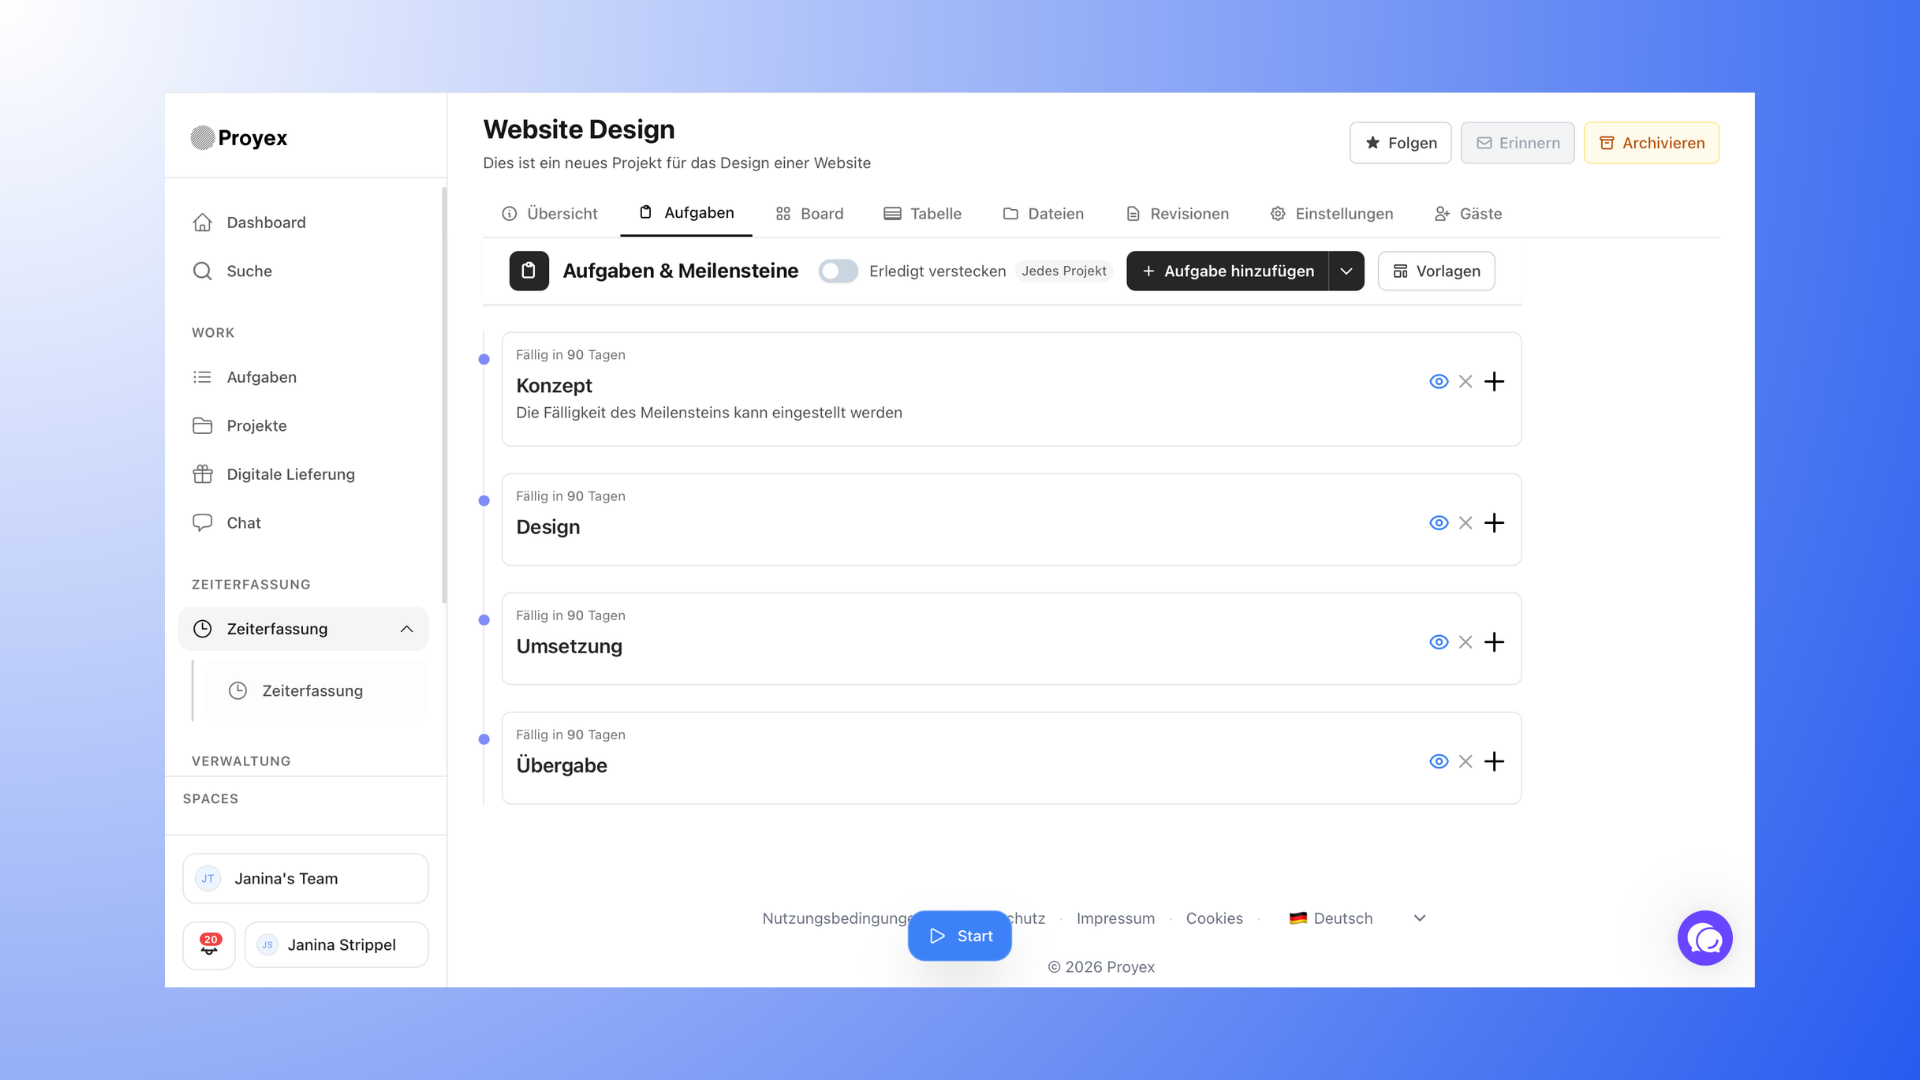
Before you create tasks, you should first consider what project phases your project has. These phases are created as milestones in Proyex and help divide a larger project into meaningful sections. We’ll show you a concrete best-practice example for a design project:
Project: Website Design
Milestones:
Concept
Design
Implementation
Handover
It’s important to note that milestones should represent clear project phases. Too many milestones can quickly become confusing, but too few make the project difficult to follow.
Create Tasks Within the Milestones
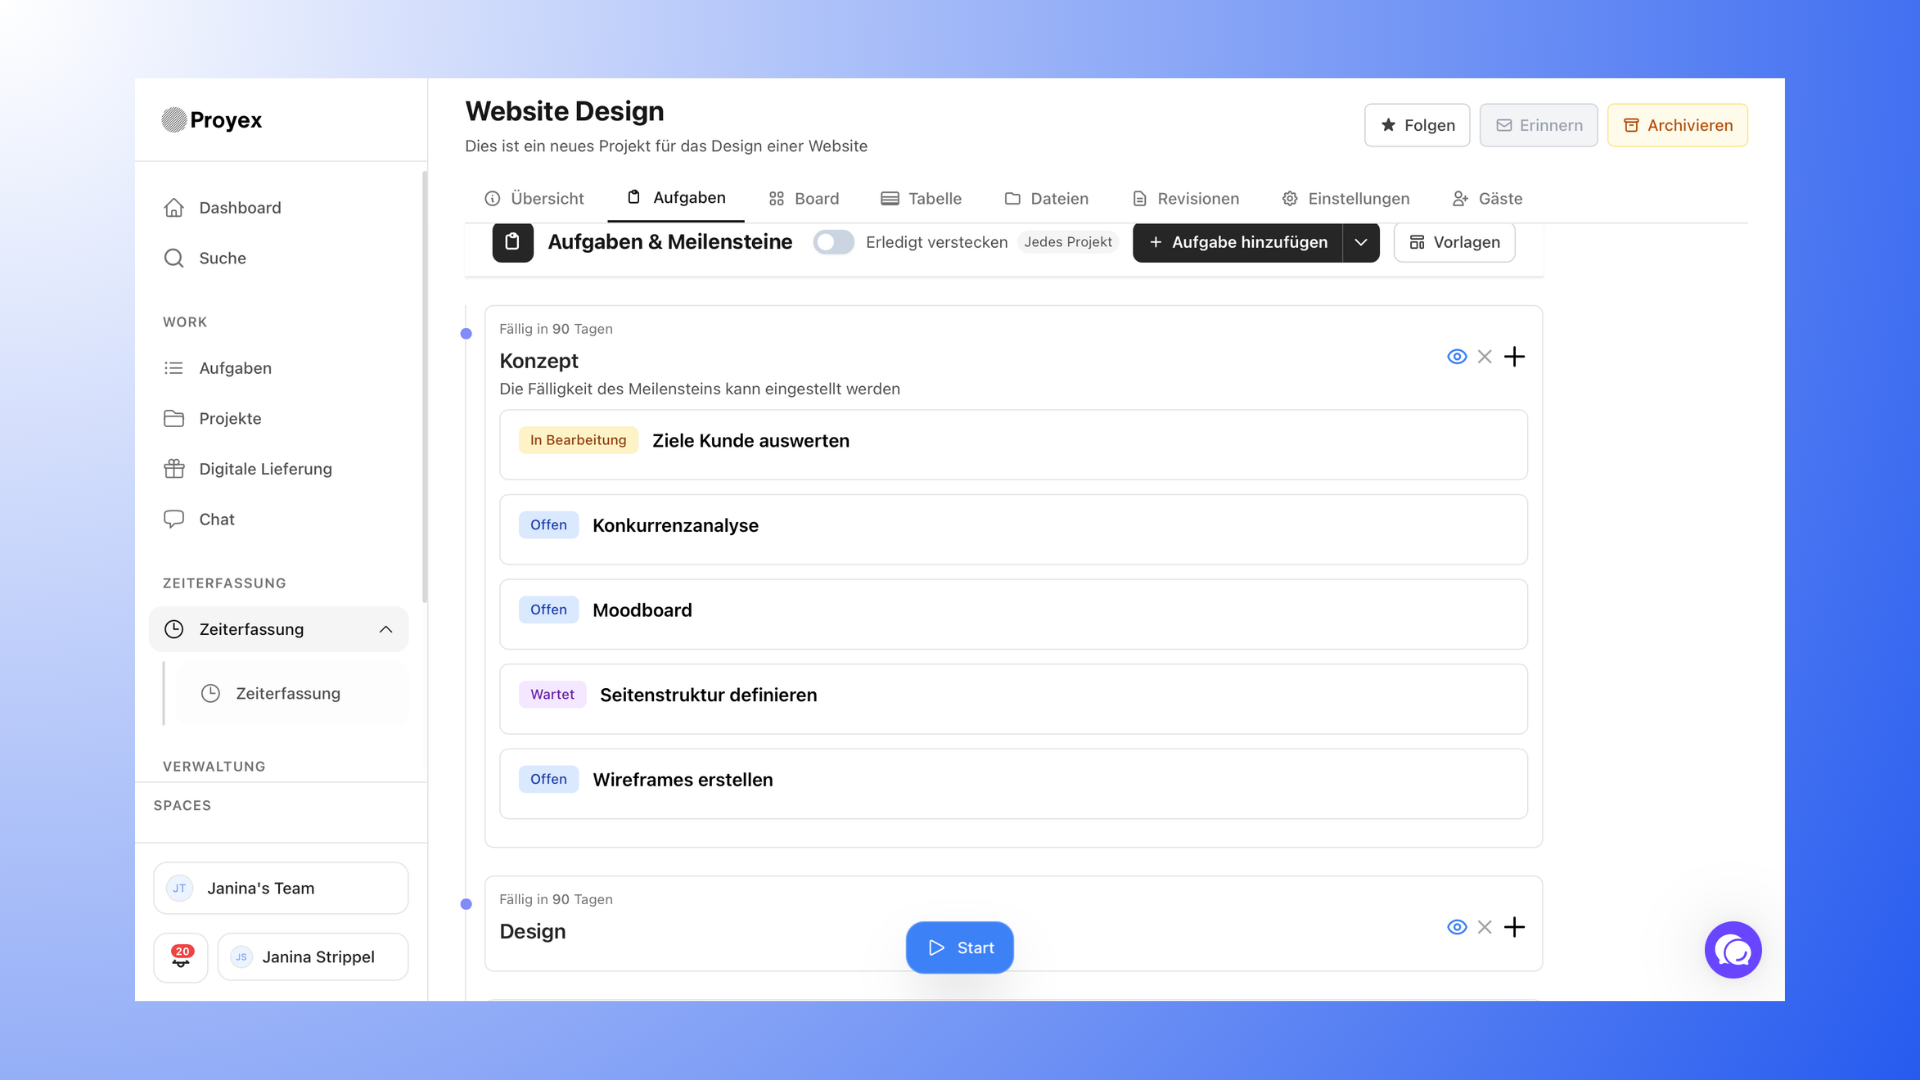
Once the project phases are defined, you can create the specific work steps as tasks.
The rule of thumb is:
A task should always describe a clear, specific step.
❌ Less useful:
“Build website”
✅ Better-structured tasks (e.g., for the “Concept” milestone):
Evaluate client goals
Competitor analysis
Mood board
Define page structure
Create wireframes
This ensures that progress on the project remains transparent.
Prepare Important Files
Before you invite your clients, it’s a good idea to make sure important materials are already available in the project.
For example:
Briefing documents
Project information
Templates or questionnaires
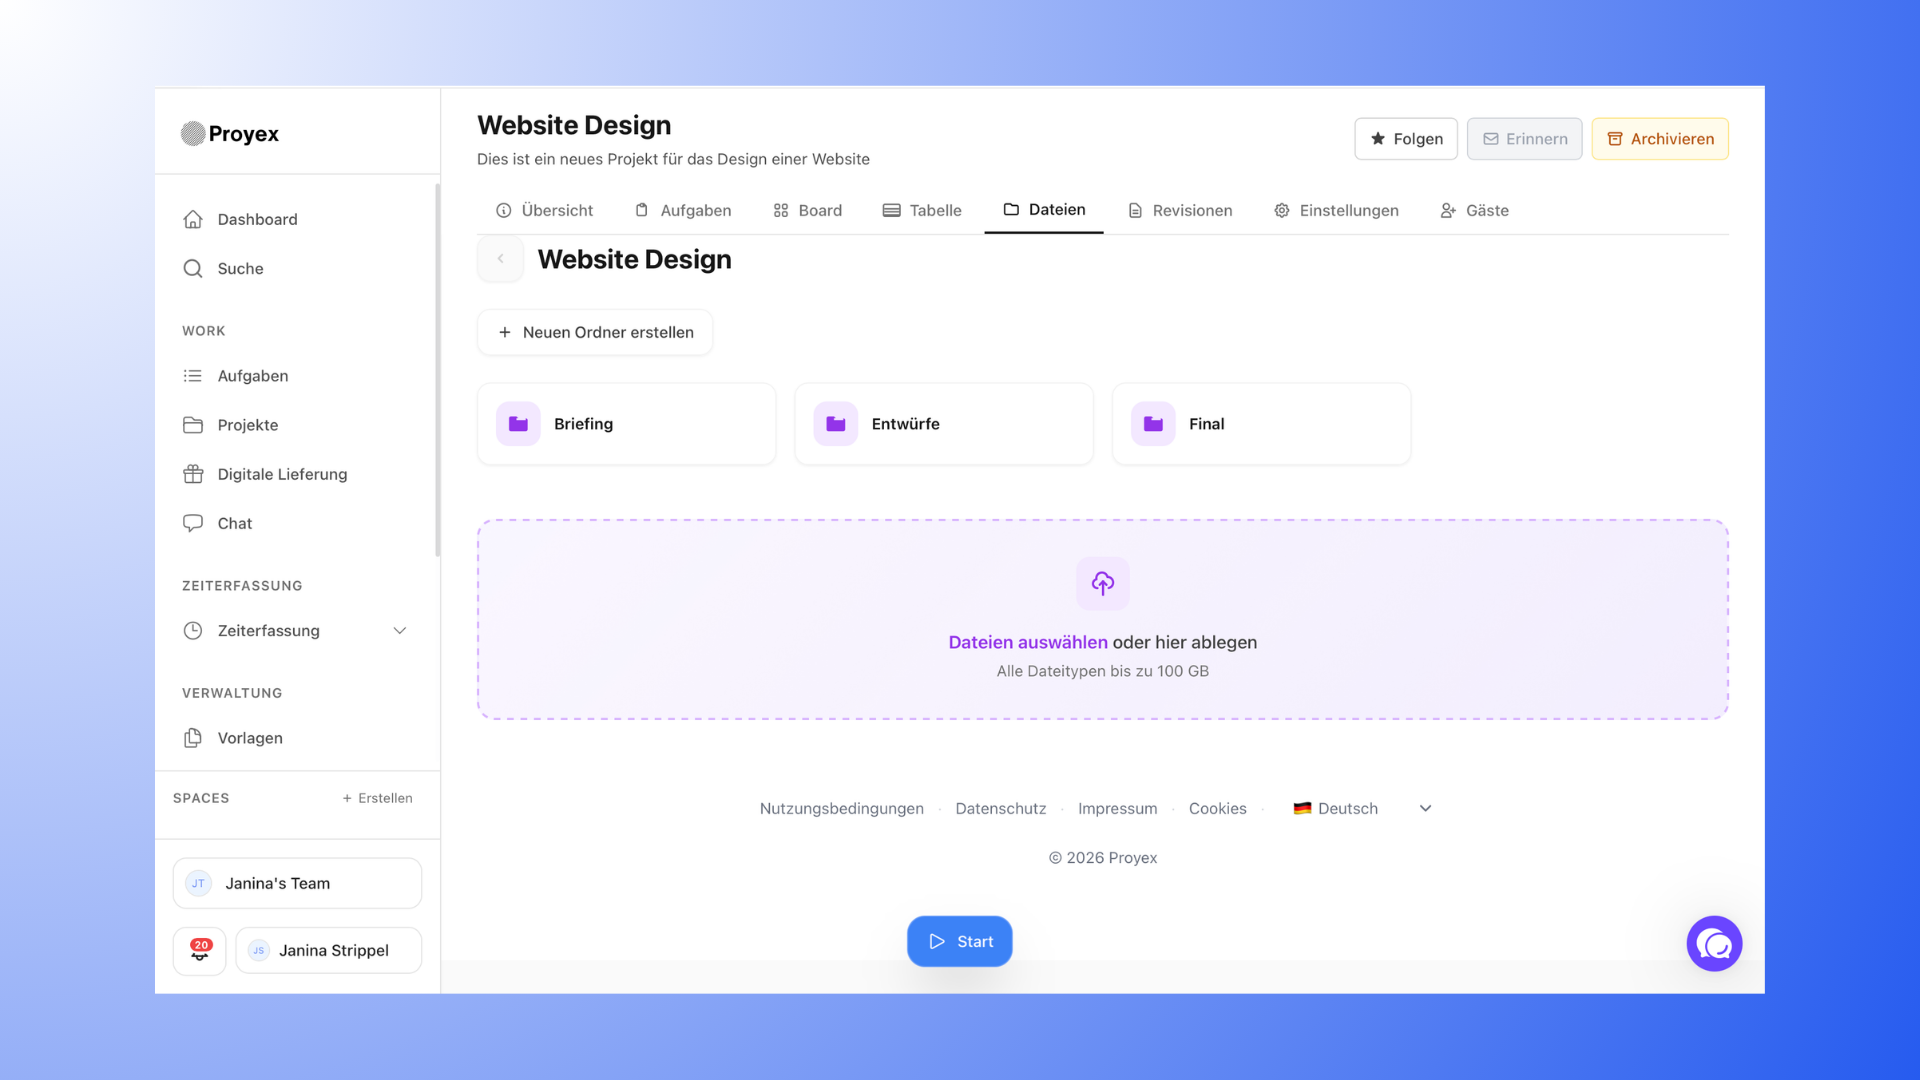
You can upload these in the Files section. Files can also be organized into folders, for example:
Briefing
Drafts
Final
This way, both you and your client can find everything quickly later on.
Don’t invite clients until the project is ready
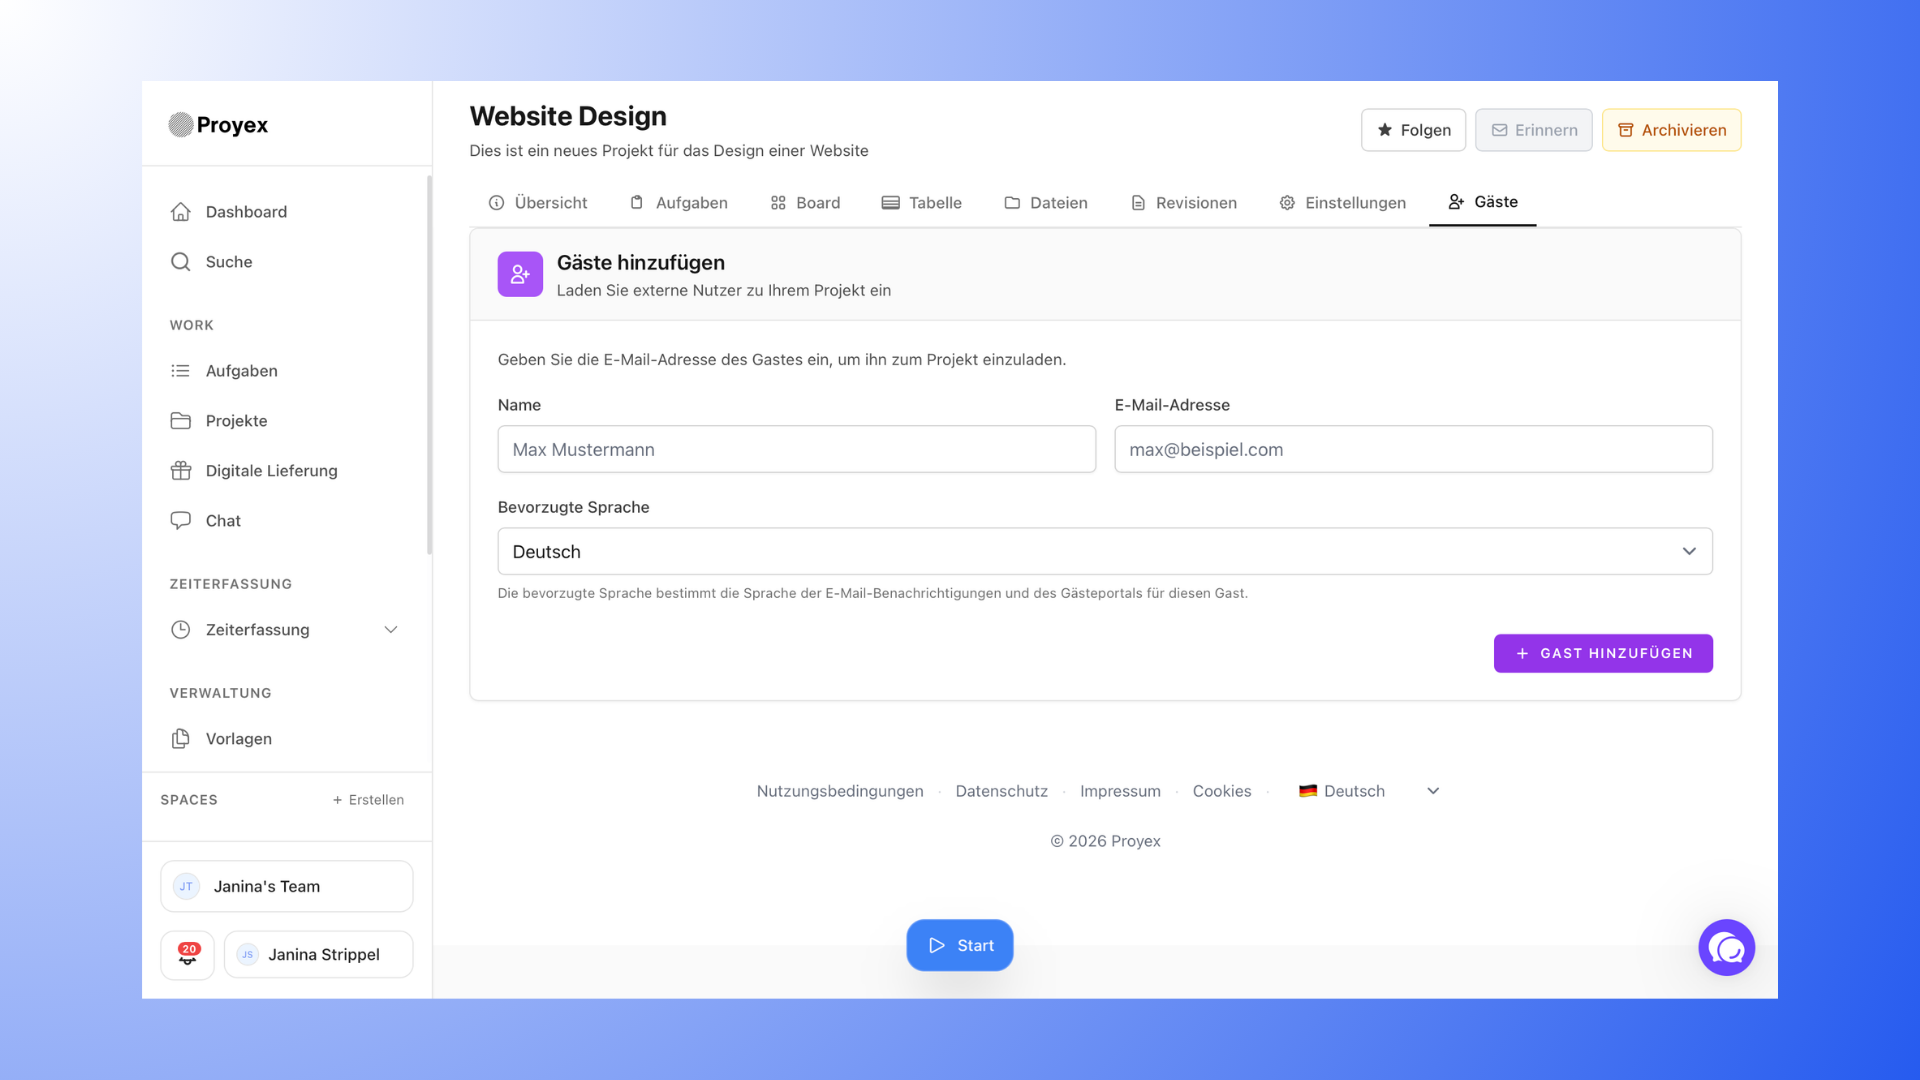
A common mistake is inviting clients to a project too early. It’s better to wait to invite the client until:
the milestones have been defined
tasks have been created
important files are available
This way, the client joins a project that’s already structured and immediately understands how everything is organized. It’s often helpful to explain to the client in a brief meeting how you’ll work together on the project.
Use Revisions for Feedback
Revisions are ideal for gathering feedback in a structured way. Before a project begins, you should clarify the following with the client:
how many revisions are included
when feedback is expected
Example:
In a design project, revisions could be used for design drafts. The client would then receive, for example, 3 revisions to provide feedback. As soon as the client approves a revision, you can make the final files available in the project.
Avoiding Common Mistakes
Too many milestones
If every little detail is its own milestone, the project quickly becomes hard to keep track of.
Packing everything into one milestone
If all tasks are grouped into a single milestone, it becomes difficult to track the project’s progress.
Failure to Clearly Define Revisions
If it’s not clearly specified how many revisions are included, feedback can quickly get out of hand.
Communication via messaging apps
Project feedback should take place within the project management tool, via email, or in meetings whenever possible—not via WhatsApp or similar messaging apps.
Checklist for a Well-Structured Project
Before your project begins, you can use this short checklist:
✔ Project created
✔ Milestones defined
✔ Tasks assigned
appropriately ✔ Important files uploaded
✔ Revisions planned
✔ Client invited
🔗 Related Articles
“Typical Task Structure”
“Projects, Tasks, and Milestones—How Do They All Fit Together?”
“Planning Project Phases”