Create Milestones
Written By Janina
Last updated 25 days ago
Milestones help you break your project down into clear phases and organize tasks in a logical way.
This way, both your team and your clients can keep track of the project’s progress at all times.
🧠 What are milestones in Proyex?
Milestones represent project phases and also serve as groupings for your tasks. They aren’t tasks you “check off,” but rather group several tasks together by topic.
Each milestone includes tasks that together represent a section of the project, such as a project phase or a block of content.
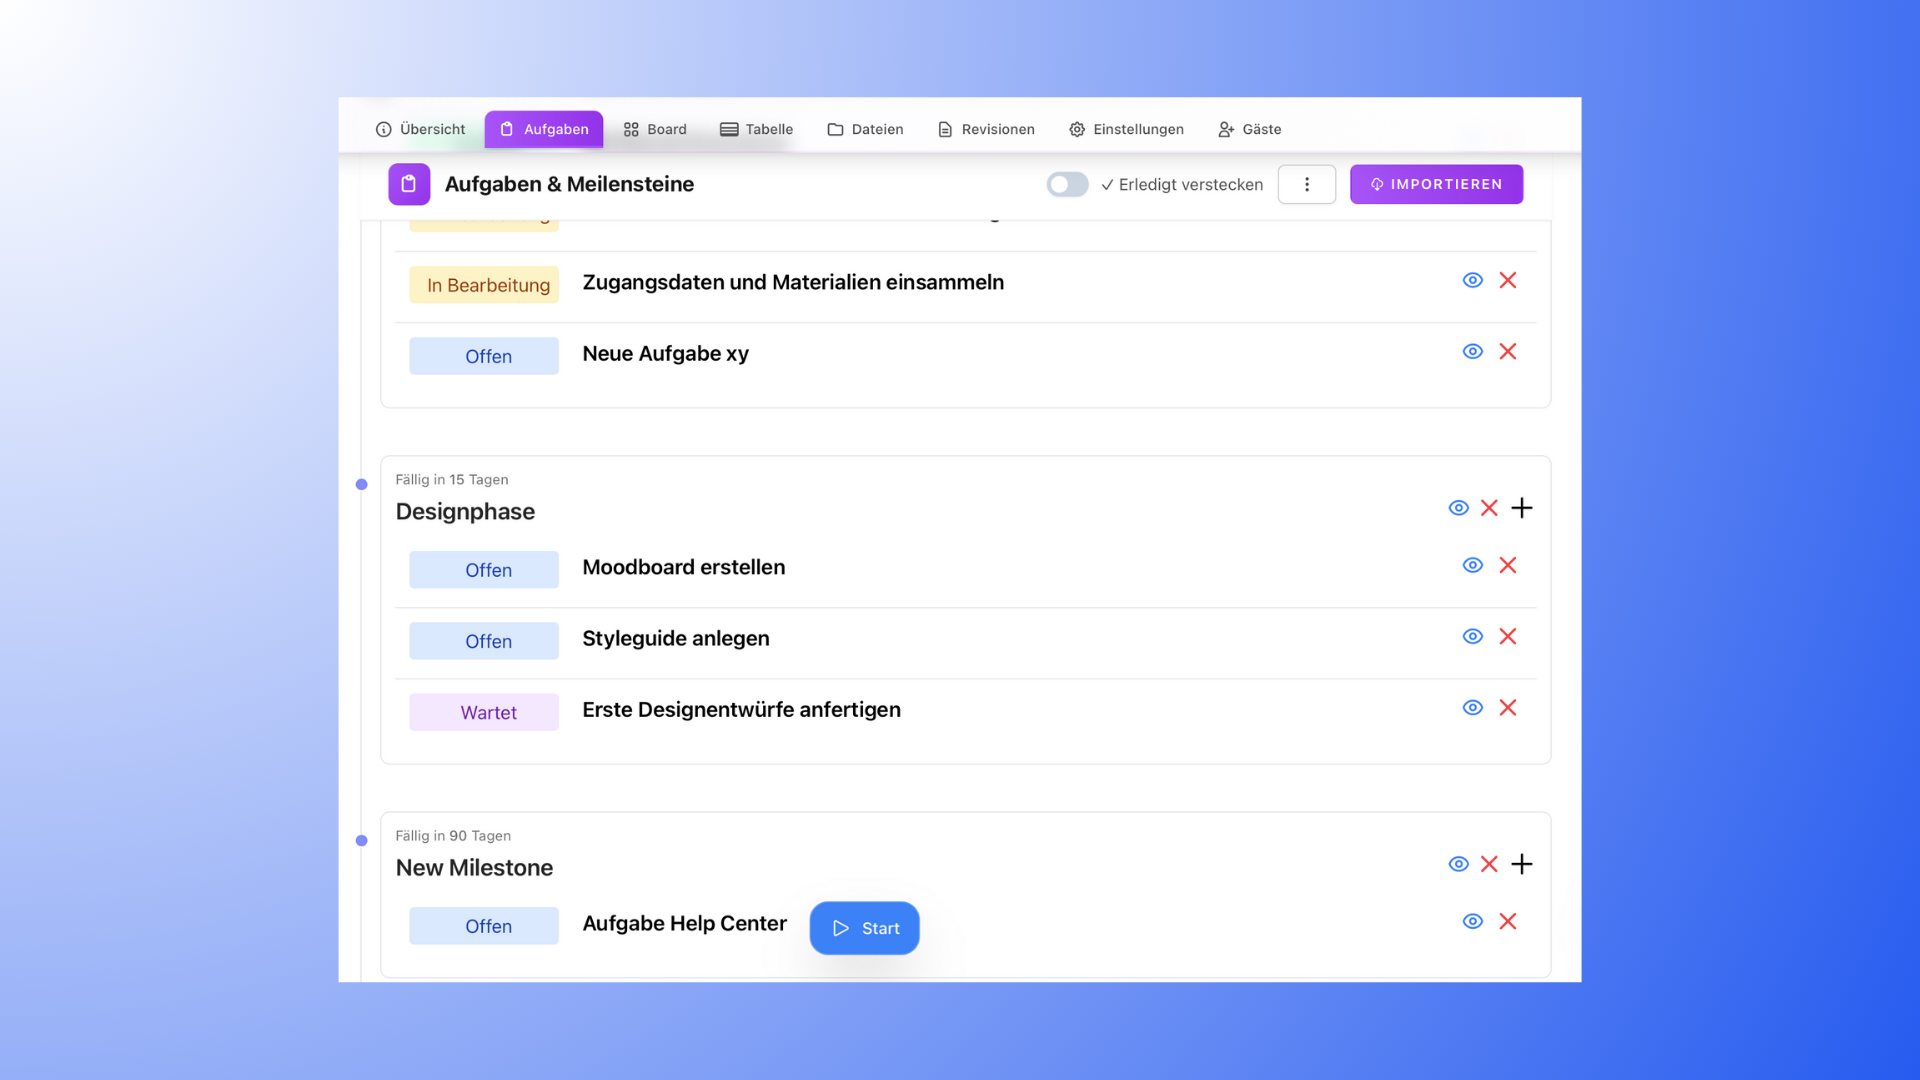
➕ Create a milestone in the project
Milestones are always created within a project.
Here’s how to create a new milestone:
Open the project you want to work on.
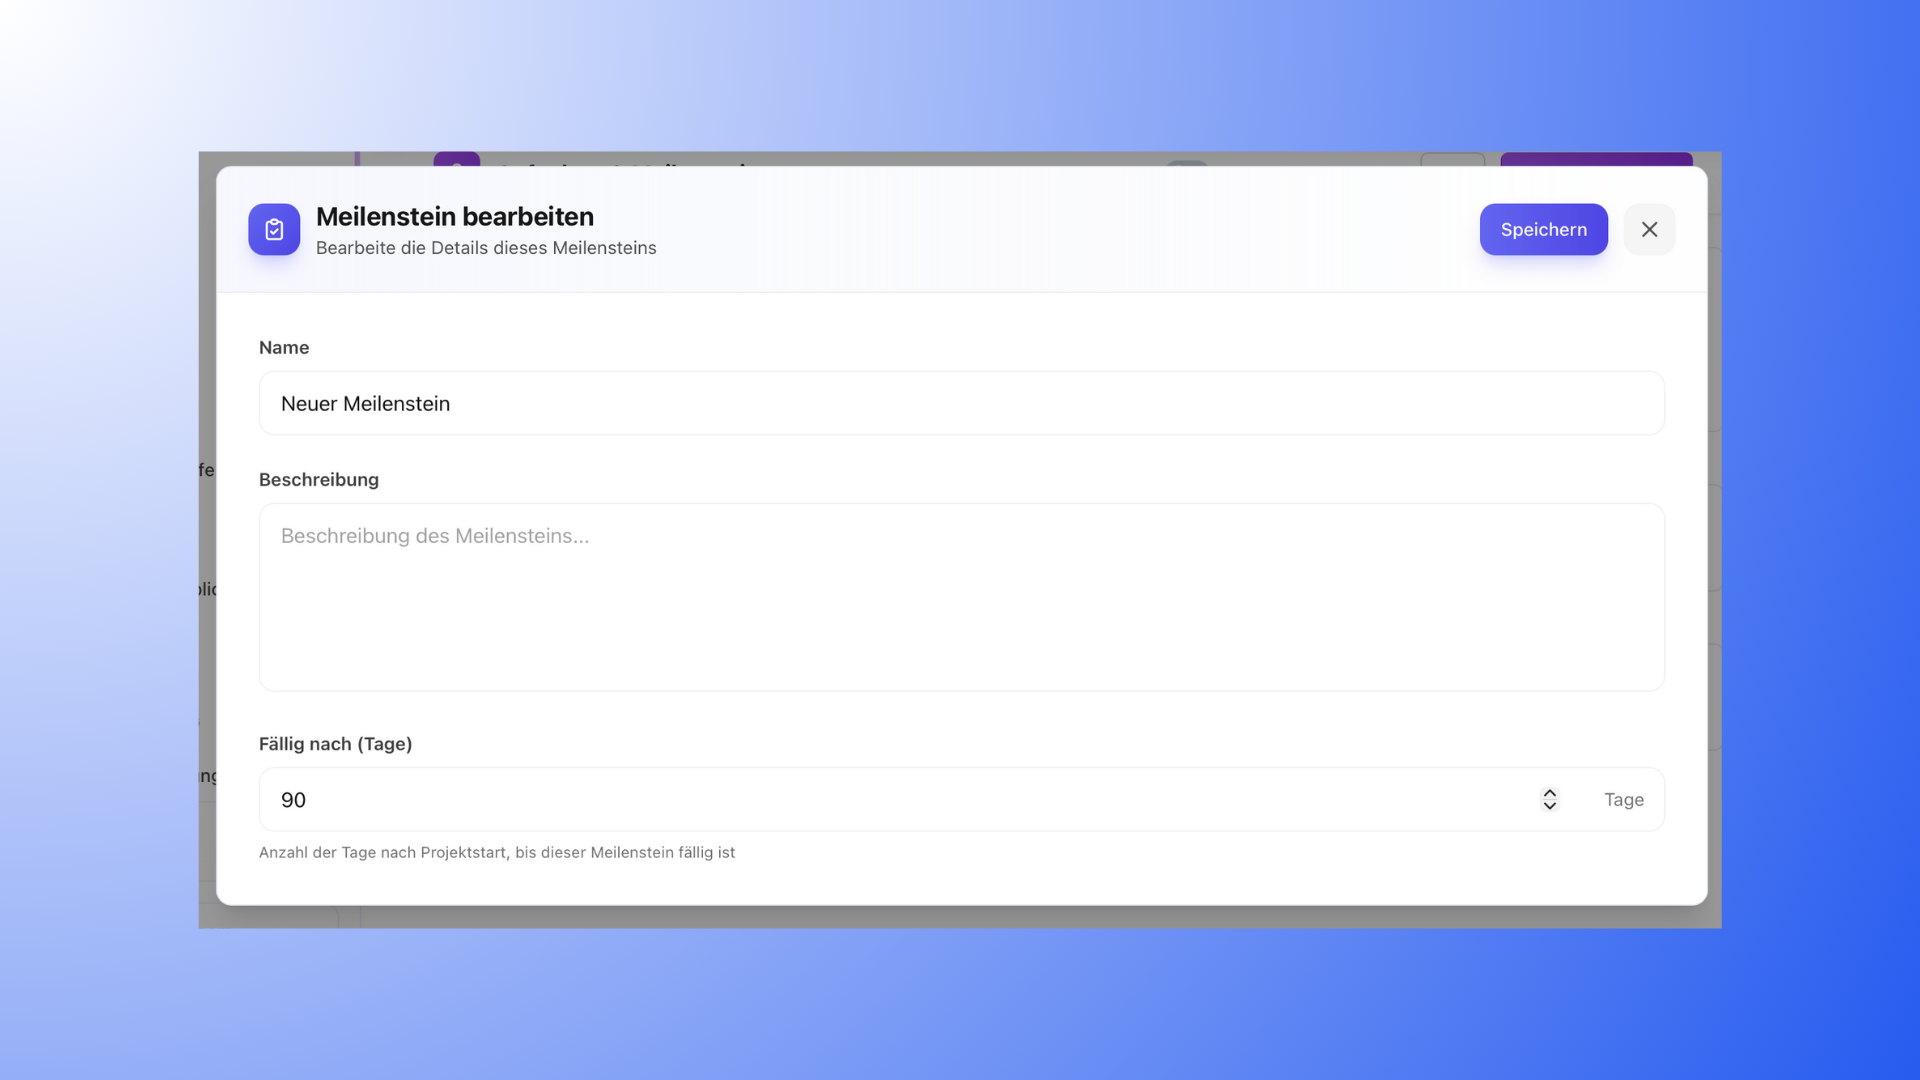
Click “+ Add Milestone.”
Enter a name for the milestone.
Optional: Add a description.
Set a due date.
The milestone will now appear in the project and can be populated with tasks.
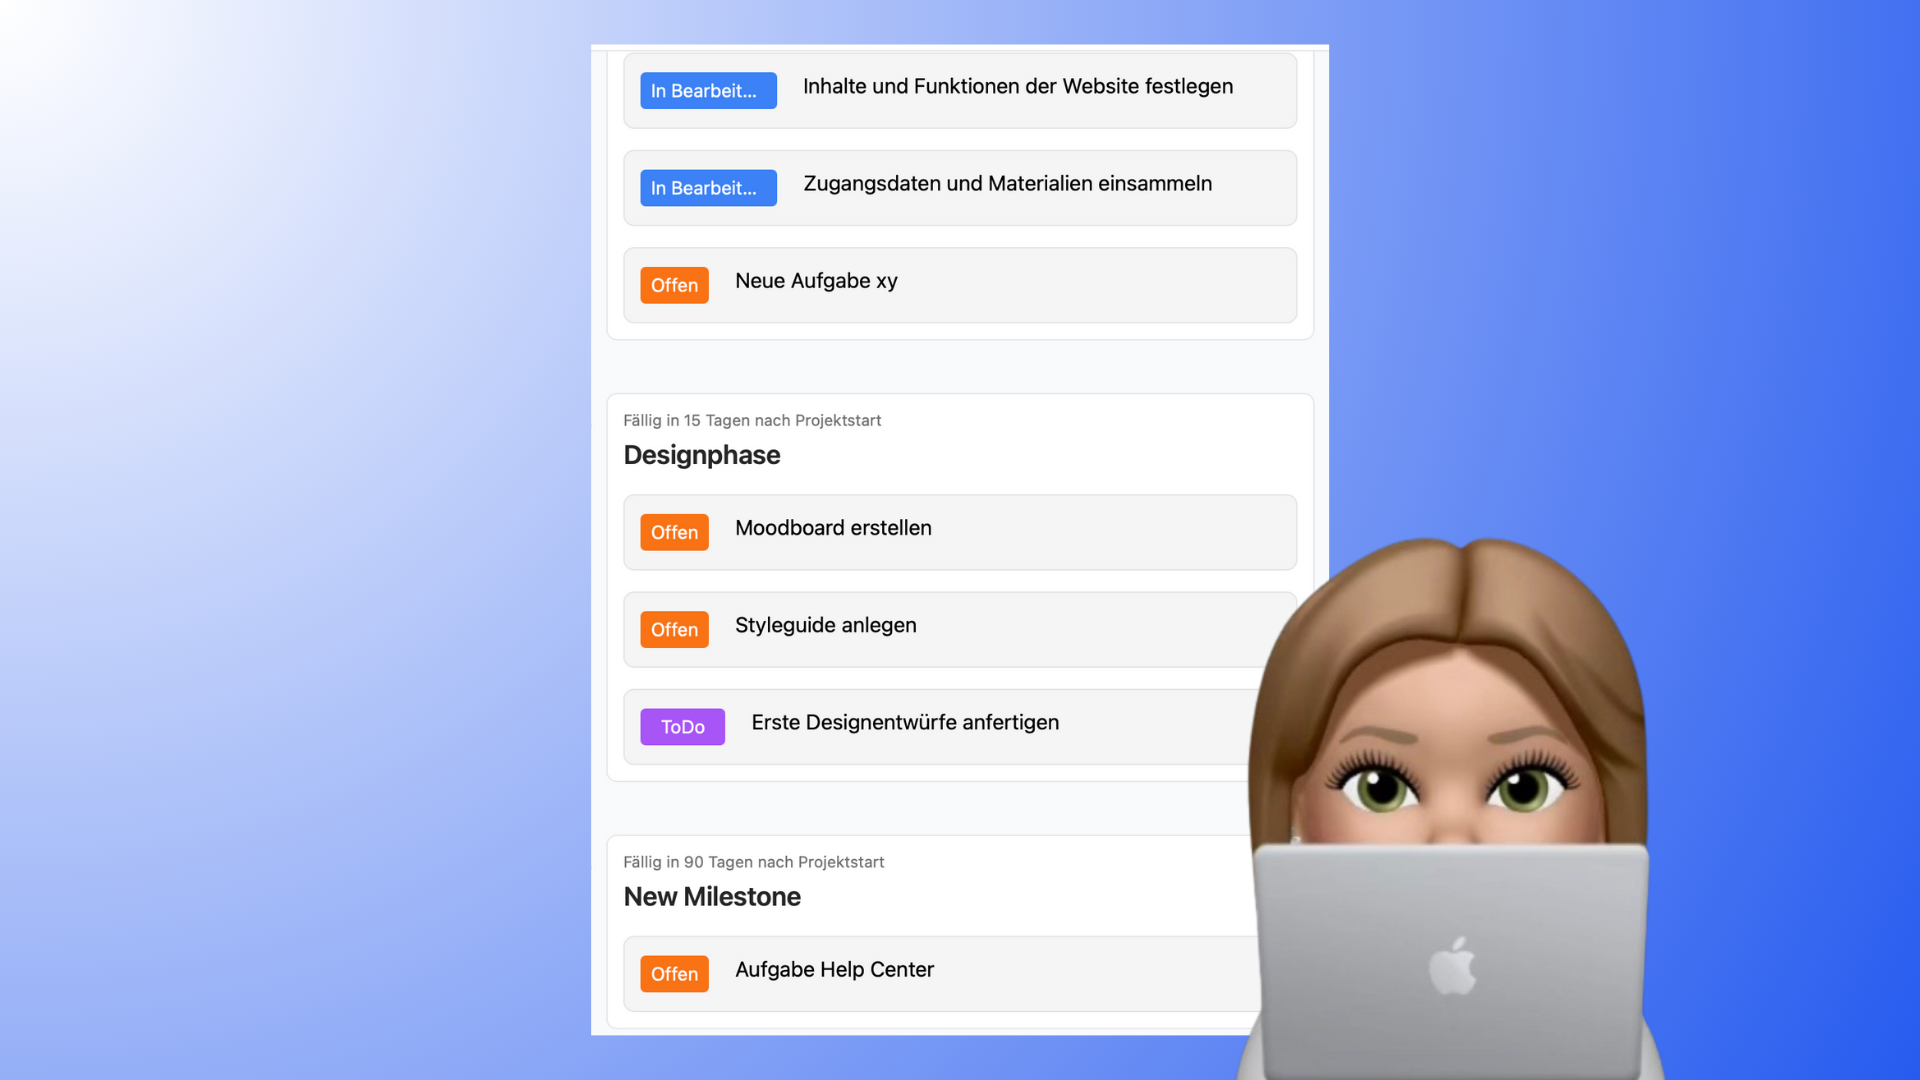
🧩 Tasks for Milestones
Tasks can be associated with a milestone—but they can just as easily be created directly in the project without a milestone.
When creating a task, select the milestone from the dropdown menu or leave it set to “No milestone.” Tasks without a milestone appear at the very top of the “Tasks without a milestone” section in the project.
You can create as many tasks as you like within a milestone.
Milestones do not have to be completed one after another. It’s possible for tasks in different milestones to be open or already completed at the same time.
For more information, see: “Create & Edit Assignments”
✏️ Edit Milestones
All milestones can be customized at any time. You can:
change the name
edit the description
change the due date
Add or remove tasks
This keeps your project structure flexible even when changes are made.
🗂️ Manage milestones in the Tasks tab
In a project’s Tasks tab, each milestone forms its own group. You can manage it directly via the group’s header—the icons appear as soon as you hover over the row.
Create: via “Milestone” in the bar above the table or via “Add Milestone” at the end of a group. New milestones are added to the end of the list.
Rename: Click the pencil icon in the header. Press Enter to confirm the new name, or Escape to discard it.
Change order: The up and down arrows move the milestone along with its tasks.
Visible or hidden to guests: Toggle using the eye icon. This setting applies to all tasks within the milestone—they are toggled along with it.
Delete: Trash can icon.
Caution when deleting: Deleting the milestone also deletes all its tasks, including their notes and attached files. This action cannot be undone. That’s why Proyex first tells you the number of tasks affected and requires you to type in the milestone’s name. If you want to keep the tasks, drag them to a different group first.
👀 Milestones from the client’s perspective
In the project, clients see:
all milestones
the due dates of the milestones
the progress within a milestone based on the tasks
Customers cannot edit milestones, but they help them better understand the project status.
Clients receive notifications about task changes, not about the milestones themselves. When a milestone is effectively completed due to completed tasks, the progress is updated automatically.
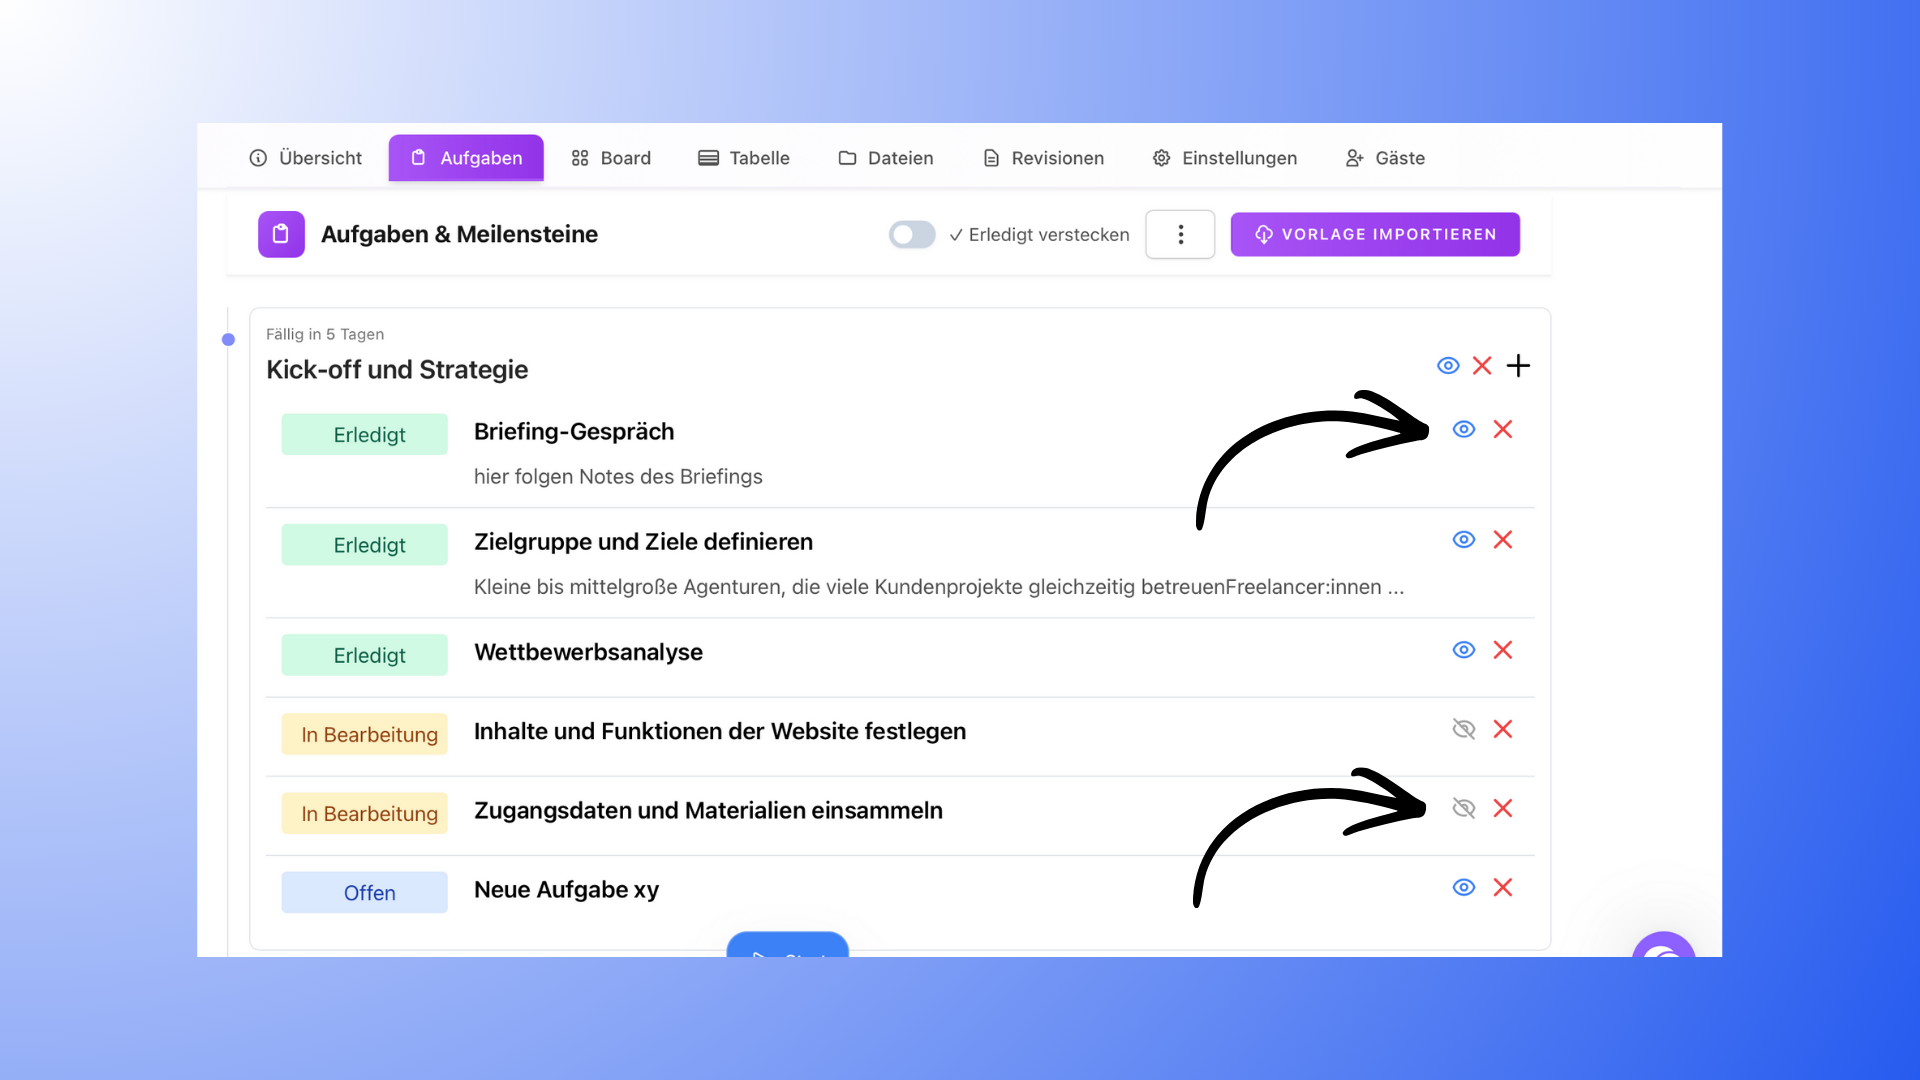
👁️ Control Visibility for Clients
For each milestone and task, you can specify whether they are visible to clients:
Use the eye icon to hide content
Grayed-out milestones or tasks are not visible to clients
This allows you to keep internal planning elements hidden from customers.
See also: “Internal vs. External Content: Structured with Customers and as a Team”
💡 Good to know
A milestone without tasks does not show progress.
Milestones do not need to be fully completed to move on to the next one.
Use descriptive names so clients can better understand the project status.
Try out milestones right away in your next project with Proyex.